ClubRunner Tips
Ever wonder how you can achieve certain things you've seen other clubs do, but just can't figure it out? For this edition, we took a look at all of your how-to requests and are going to highlight some of the most popular questions. This is what we call #CRTips!
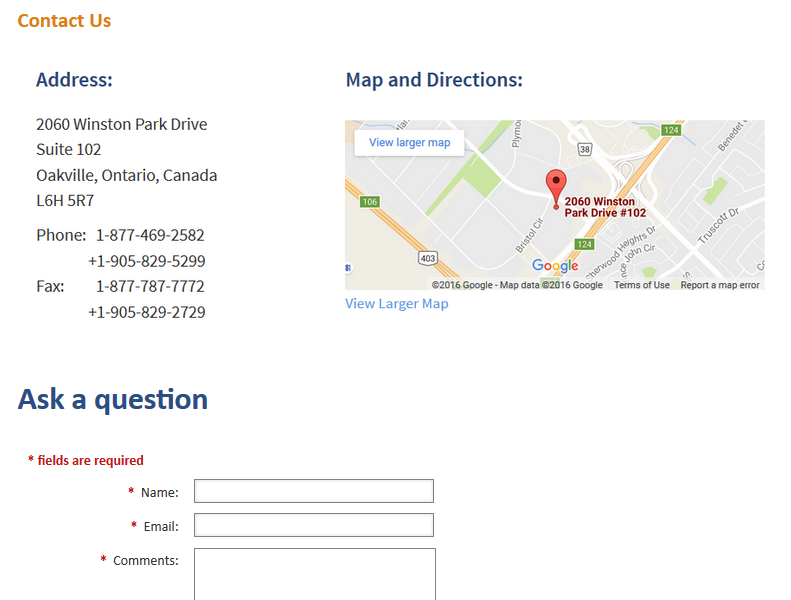
1. Did you know that you can customize your contact us page to include many other elements apart from the form, including a venue map, mailing address and more?
Not only can you create a custom contact us page, you can even include multiple forms! The trick is to use the 'Contact Us' form widget which is available for custom pages. Simply create a custom page, and add your venue map, mailing address and more. Then simply drop in the contact us widget and have the form inquiries go to a specific member. Learn more.
Not only can you create a custom contact us page, you can even include multiple forms! The trick is to use the 'Contact Us' form widget which is available for custom pages. Simply create a custom page, and add your venue map, mailing address and more. Then simply drop in the contact us widget and have the form inquiries go to a specific member. Learn more.
2. Did you know you can change the font, color and size of your story titles? Widget titles?
That's not all. You can even add separator lines and
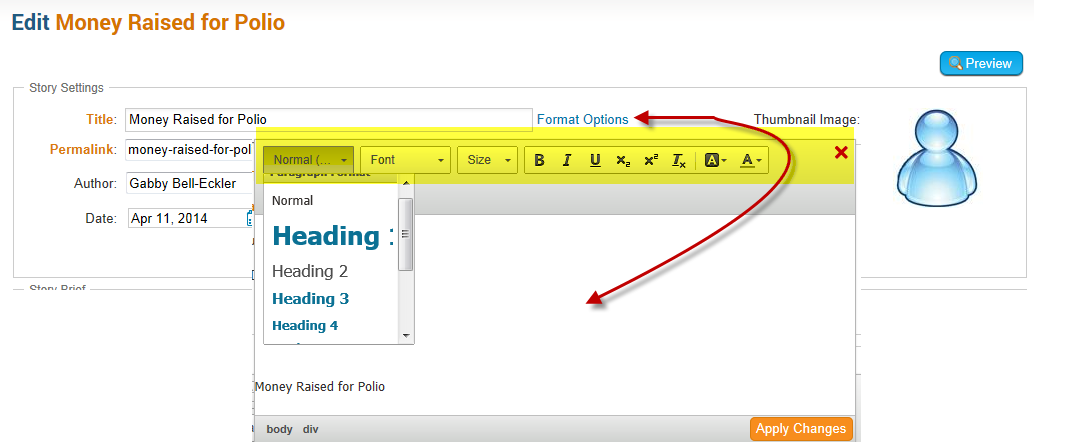 edit its style, line thickness and color.
To change the story title on a per story basis, look for a 'Format Options' link next to the title field. To change the default format for all your story titles, hover over the story widget and click on the cog wheel to get to the widget properties page. Scroll down to the Content Properties section and apply your changes here. You can also add line separators between stories from this section as well.
For widget titles, hover over the widget and click on the cog wheel to navigate to the widget properties page. Learn more.
3. Did you know you can upload your own favicon?
A favicon is a small image or icon that is displayed on your browser tab to represent your site gra
By default, we've added a customized browser icon on your site already, so when anybody adds your site to their favorites list or creates a shortcut of your website link, the customized icon is displayed on their computer rather than a default HTML icon. You can change the favicon by simply uploading your own image.
Head over to the website settings page, where you will see a link called "Edit Favion Logo". Upload your .ico file and click on save. Not sure what to use? Consider using a Rotary wheel!
4. Did you know you can control which pages your own club sponsor ads show up on?
If you are not aware of this feature, the sponsorship
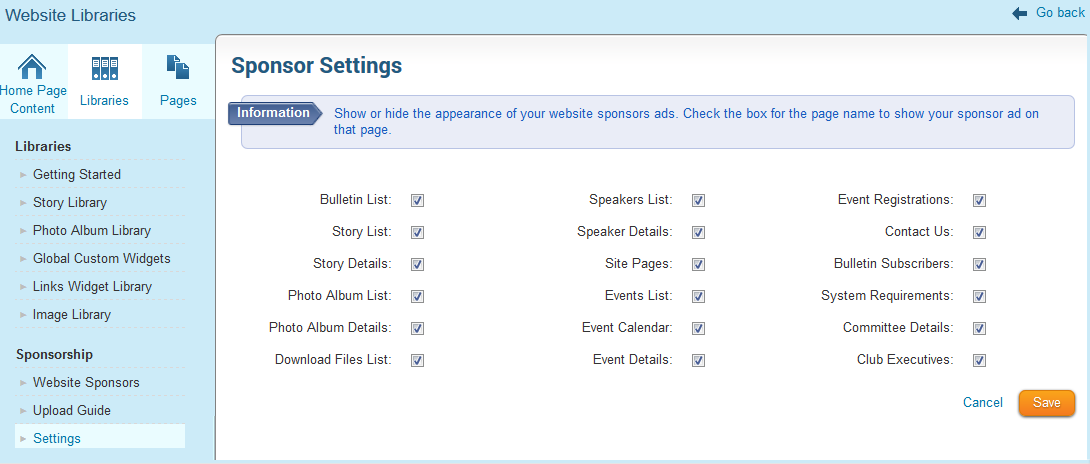 module allows you to place graphic and text ads on your website as a means of collecting revenue.
 - Navigate to the Manage Sponsor Ads page and then to the Sponsor Settings
- Select which pages you want the ads to display on
Check out how other clubs use this feature.
5. Deleted an image from the image library? Even a site page? No problem, did you know you can recover them?
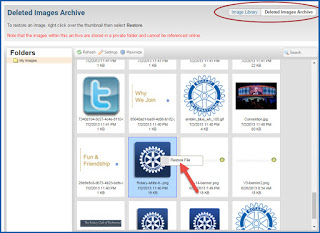
When you delete images from the image library or a site page, our 'soft delete' function allows you to restore them as and when needed. Deleted images get automatically moved to a "Deleted Images Archive' area which you can access from within the image library itself. To recover the images, right click and click on recover.
Site Pages get moved to a 'deleted' tab accessible by administrators from the Site Page Library. To restore deleted pages, simply click on the 'restore' link.
6. After formatting your story content, ever wish you could remove all the formatting and start over?
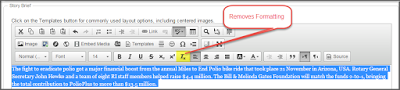 Your new story is ready to go but you notice that the font and font size of the paragraphs isn't necessarily the same. Or, the shades of the font color you selected isn't right. No, you won't have to 'undo' your changes! A hidden secret, you can remove all your formatting and start from the beginning - almost like a 'restore to default' option.
 To do so, highlight the text you want to edit, and click on the 'Remove Formatting' button (Tx button). This will change the font, size and color to what is set as the default for the website theme you are using.
7. Did you know that you can cancel scheduled emails?
Cancelling a scheduled email is just an easy as scheduling it. To revert it back to draft mode, head to the Email
 Message Center and find the email you want to stop. Under the status column, you will see a list of emails and when they are scheduled to go out. Click on cancel under the Actions column and confirm your action when you see the pop up box. The email will get reverted back to draft mode after which you can edit it, modify the distribution list, delete it or reschedule it for a different time.
8. Did you know that you can customize the email greeting message that appears on your bulletin?
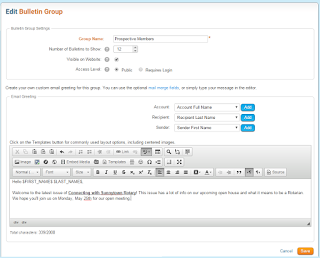 If your club doesn't already, you can actually create several bulletin groups to break your bulletin up by distribution list (example: members, prospective members, club sponsors, event attendees, etc.). For each group then, you can customize the email greeting that appears on top of every bulletin. With mail merge tags, you can go further and personalize the message to include their name and more.
 For every bulletin group you have created, you can even design a newsletter with a different look and feel. To customize the greeting, navigate to the bulletin group page and simply add your message within the editor. To learn more about bulletin groups, click here.
9. Did you know that you can set a cap on the number of stories you want to display on your website?
You've created multiple stories to display on your homepage leaving visitors to continue scrolling to view all the
.png) stories. A really long homepage can sometimes have adverse effects.
stories. A really long homepage can sometimes have adverse effects. To set a cap on the number of homepage stories, navigate to the stories widget properties. Under the Settings section, you will see an option for number of items to display. The default has been set to 25 but you can always edit this.
10. Did you know that you have the ability to mark a subpage as a default landing page when website visitors click on a site page?
A site page allows you to create a number of subpages and
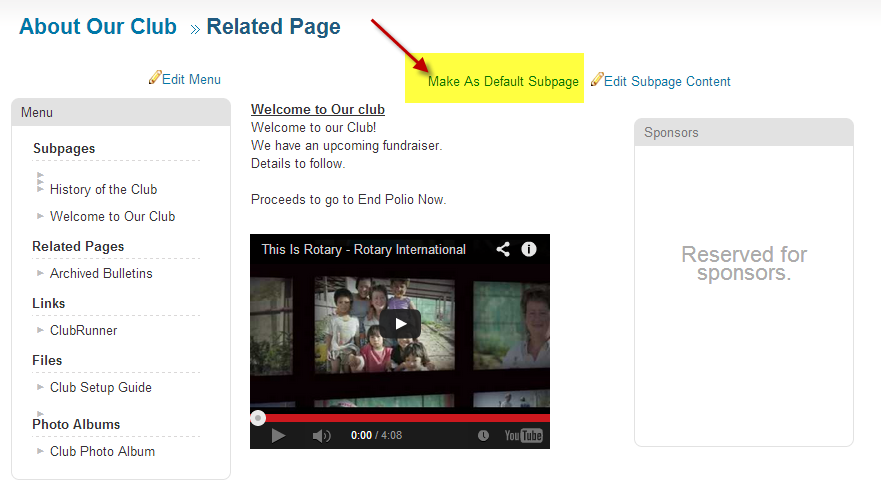 related pages as well as allow you to add photo albums, links and files to the pages. Subpages contain important information related to the topic that a site page was created for.
As you add more or delete subpages, you can quickly change your default landing page. To do so, click on the subpage you want to make the default landing page and click on the 'Make as Default' link.
11. For those using MyEventRunner for larger events, did you know that you can even create vouchers?
For when you need to distribute vouchers for various things
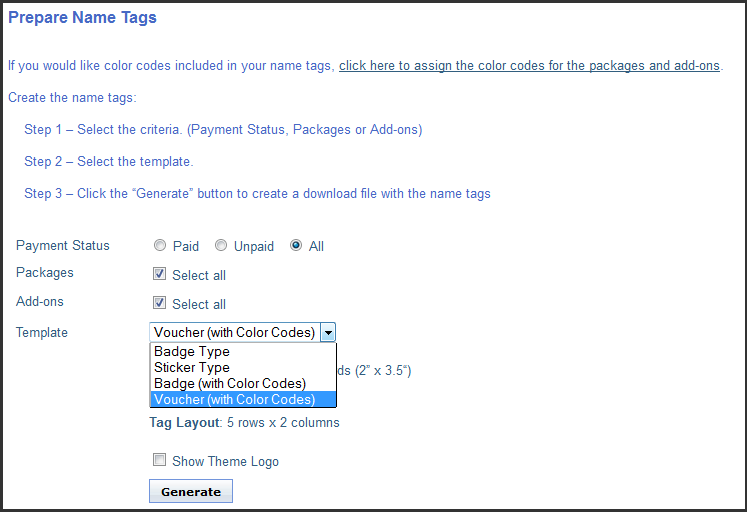 such as meals, tickets, etc., the built-in Name Tags feature will allow you to do so! In MyEventRunner, open your event and head to the 'Prepare Name Tags' section. Under the Template section, select Voucher from the drop down list.
Vouchers can be color coded based on payment status, packages and add-ons created under the same event, and can be exported into Word to print and distribute. To learn more about MyEventRunner, click here.
12. Did you know that you can customize the Club Information Widget with custom links?
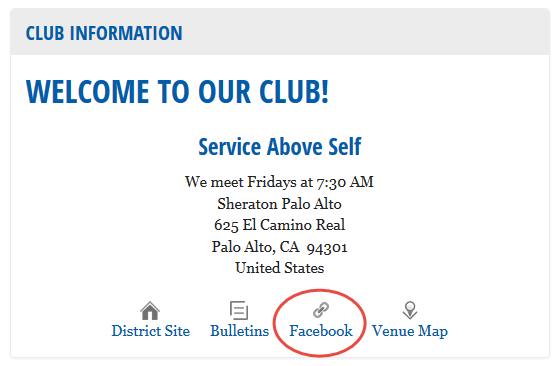
Within the widget's property screen, you will see two fields under the 'Content Properties' section: Custom Link URL and Custom Link Text. Here, you can add a link to any external website or your site/custom pages. The text you input in the Custom Link Text field will display on the widget. This option is great for clubs to link to a custom page with directions to the club meeting location, or the club's Facebook or Twitter pages.
13. Do you link to a list of photo albums website visitors can see? Did you know you can control which photo albums make appear on this page?
You can choose which specific albums you want to display
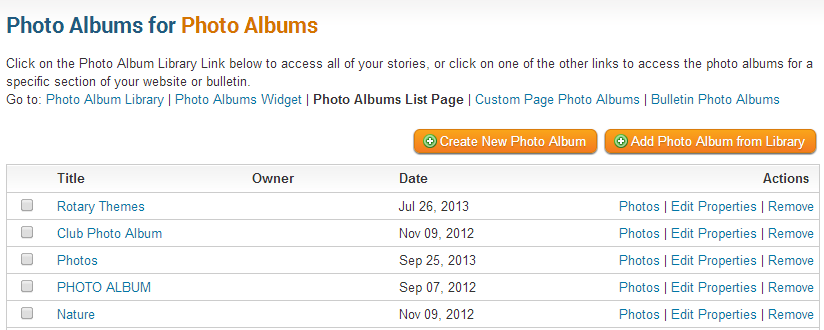 on the Photo Albums List page, which is a built-in page that you can link to your menu bar. To control which albums display on this page, navigate to the Edit Photo Albums page from your Admin page and select the Photo Albums List page filger. From here, click on the "Add Photo Album from Library" button and select your albums.
14. Treasurers! Did you know that you can cancel incorrect transactions made from within the Dues and Billing module?
For cases where the wrong invoice is generated for members, you can cancel the transaction instead of entering a credit or debit transaction to adjust the outstanding balance. To do this, from the Dues and Billing page, click on the 'Cancel Transaction' link on the left column under the Statement section. From here, you will be able to select the member you wish to cancel the transaction for, view their statement, select the transaction date and define the amount that is being voided. All changes will directly be displayed on the member's account statement.
15. Did you know that you can add a Facebook comments box to your stories?
Using a third party tool, it is possible to add a comments box to
 your stories. If you've ever wanted to started a discussion on your site amongst club members, this would be a great way to accomplish it. Check out the following help article which goes over how you can embed a Facebook comments box on your site, so members can use their Facebook to join a conversation.
Want to use this or other articles in your own newsletter? Please keep the credits attached, and reference the ClubRunner Newsletter as your source, linking back to the ClubRunner site.